
The AMGA Single Pitch Instructor Course: What to Expect, Who It's For, and What Comes Next
Most SPI course listings won't tell you this: the certification doesn't qualify you to run an independent guide service, the Rock Guide credential requires three separate steps, and the alpine and ski disciplines both require a pro-level avalanche cert. Here's the full picture.
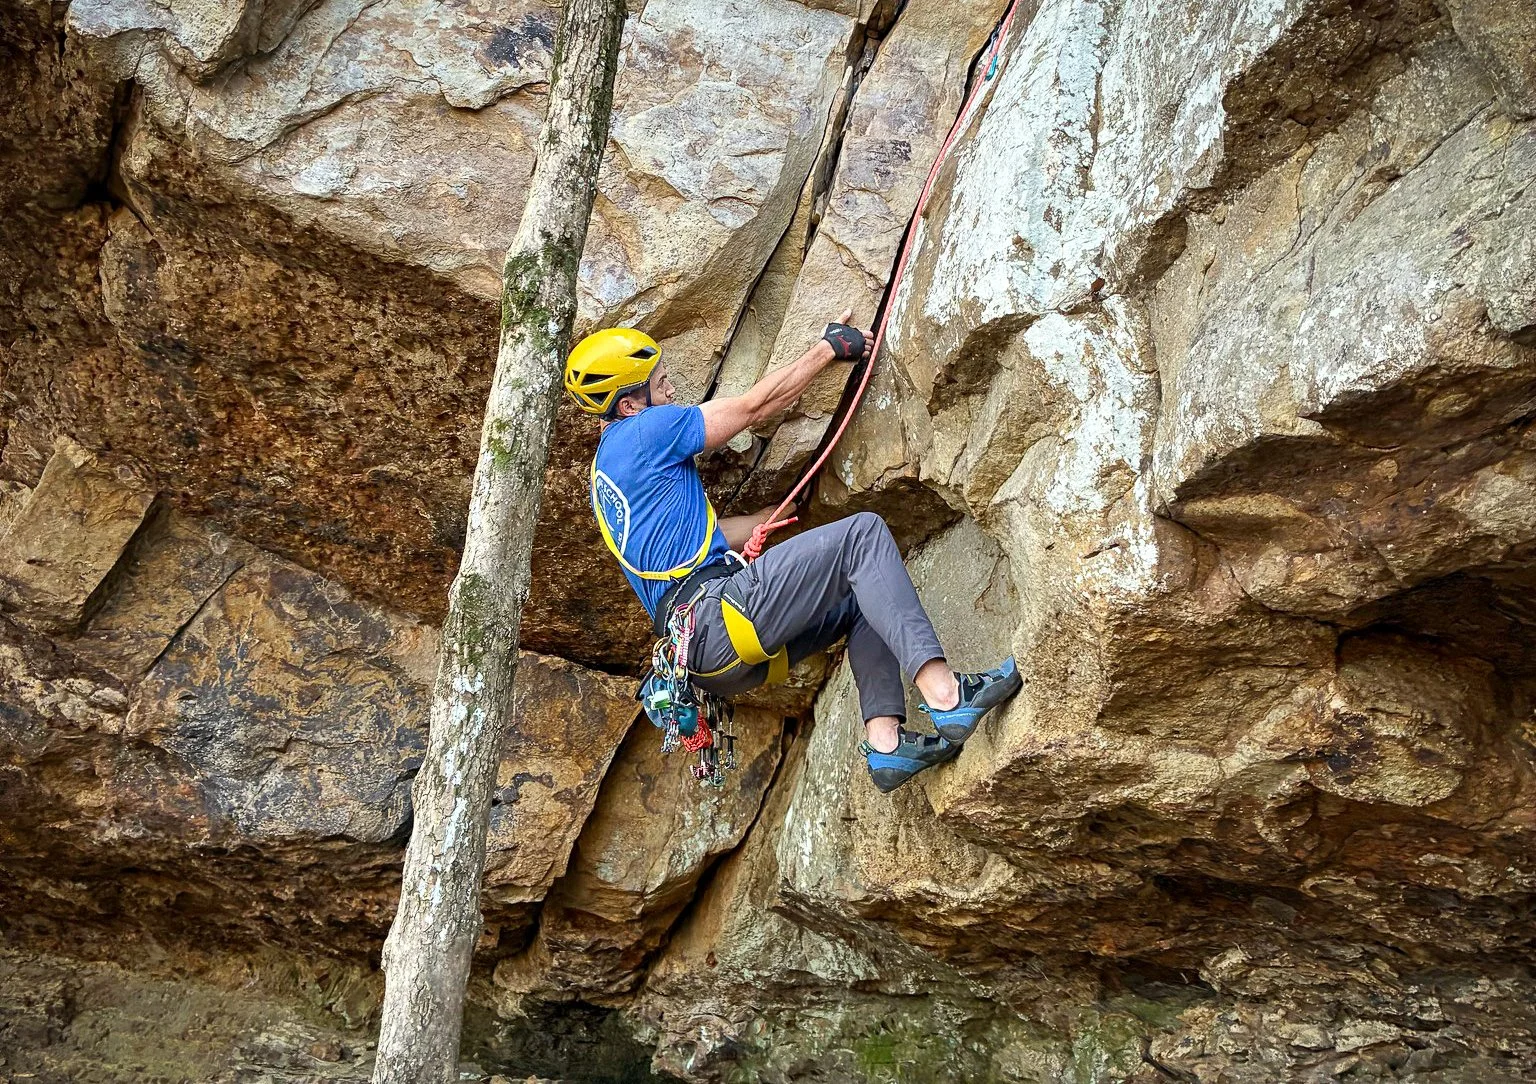
Lost Wall: Best Beginner Trad Climbing in Northwest Georgia
Lost Wall on Pigeon Mountain, Georgia is the ideal crag for new trad leaders — one cliff line, obvious cracks, and a clear 5.6–5.9 progression. Full route guide inside.
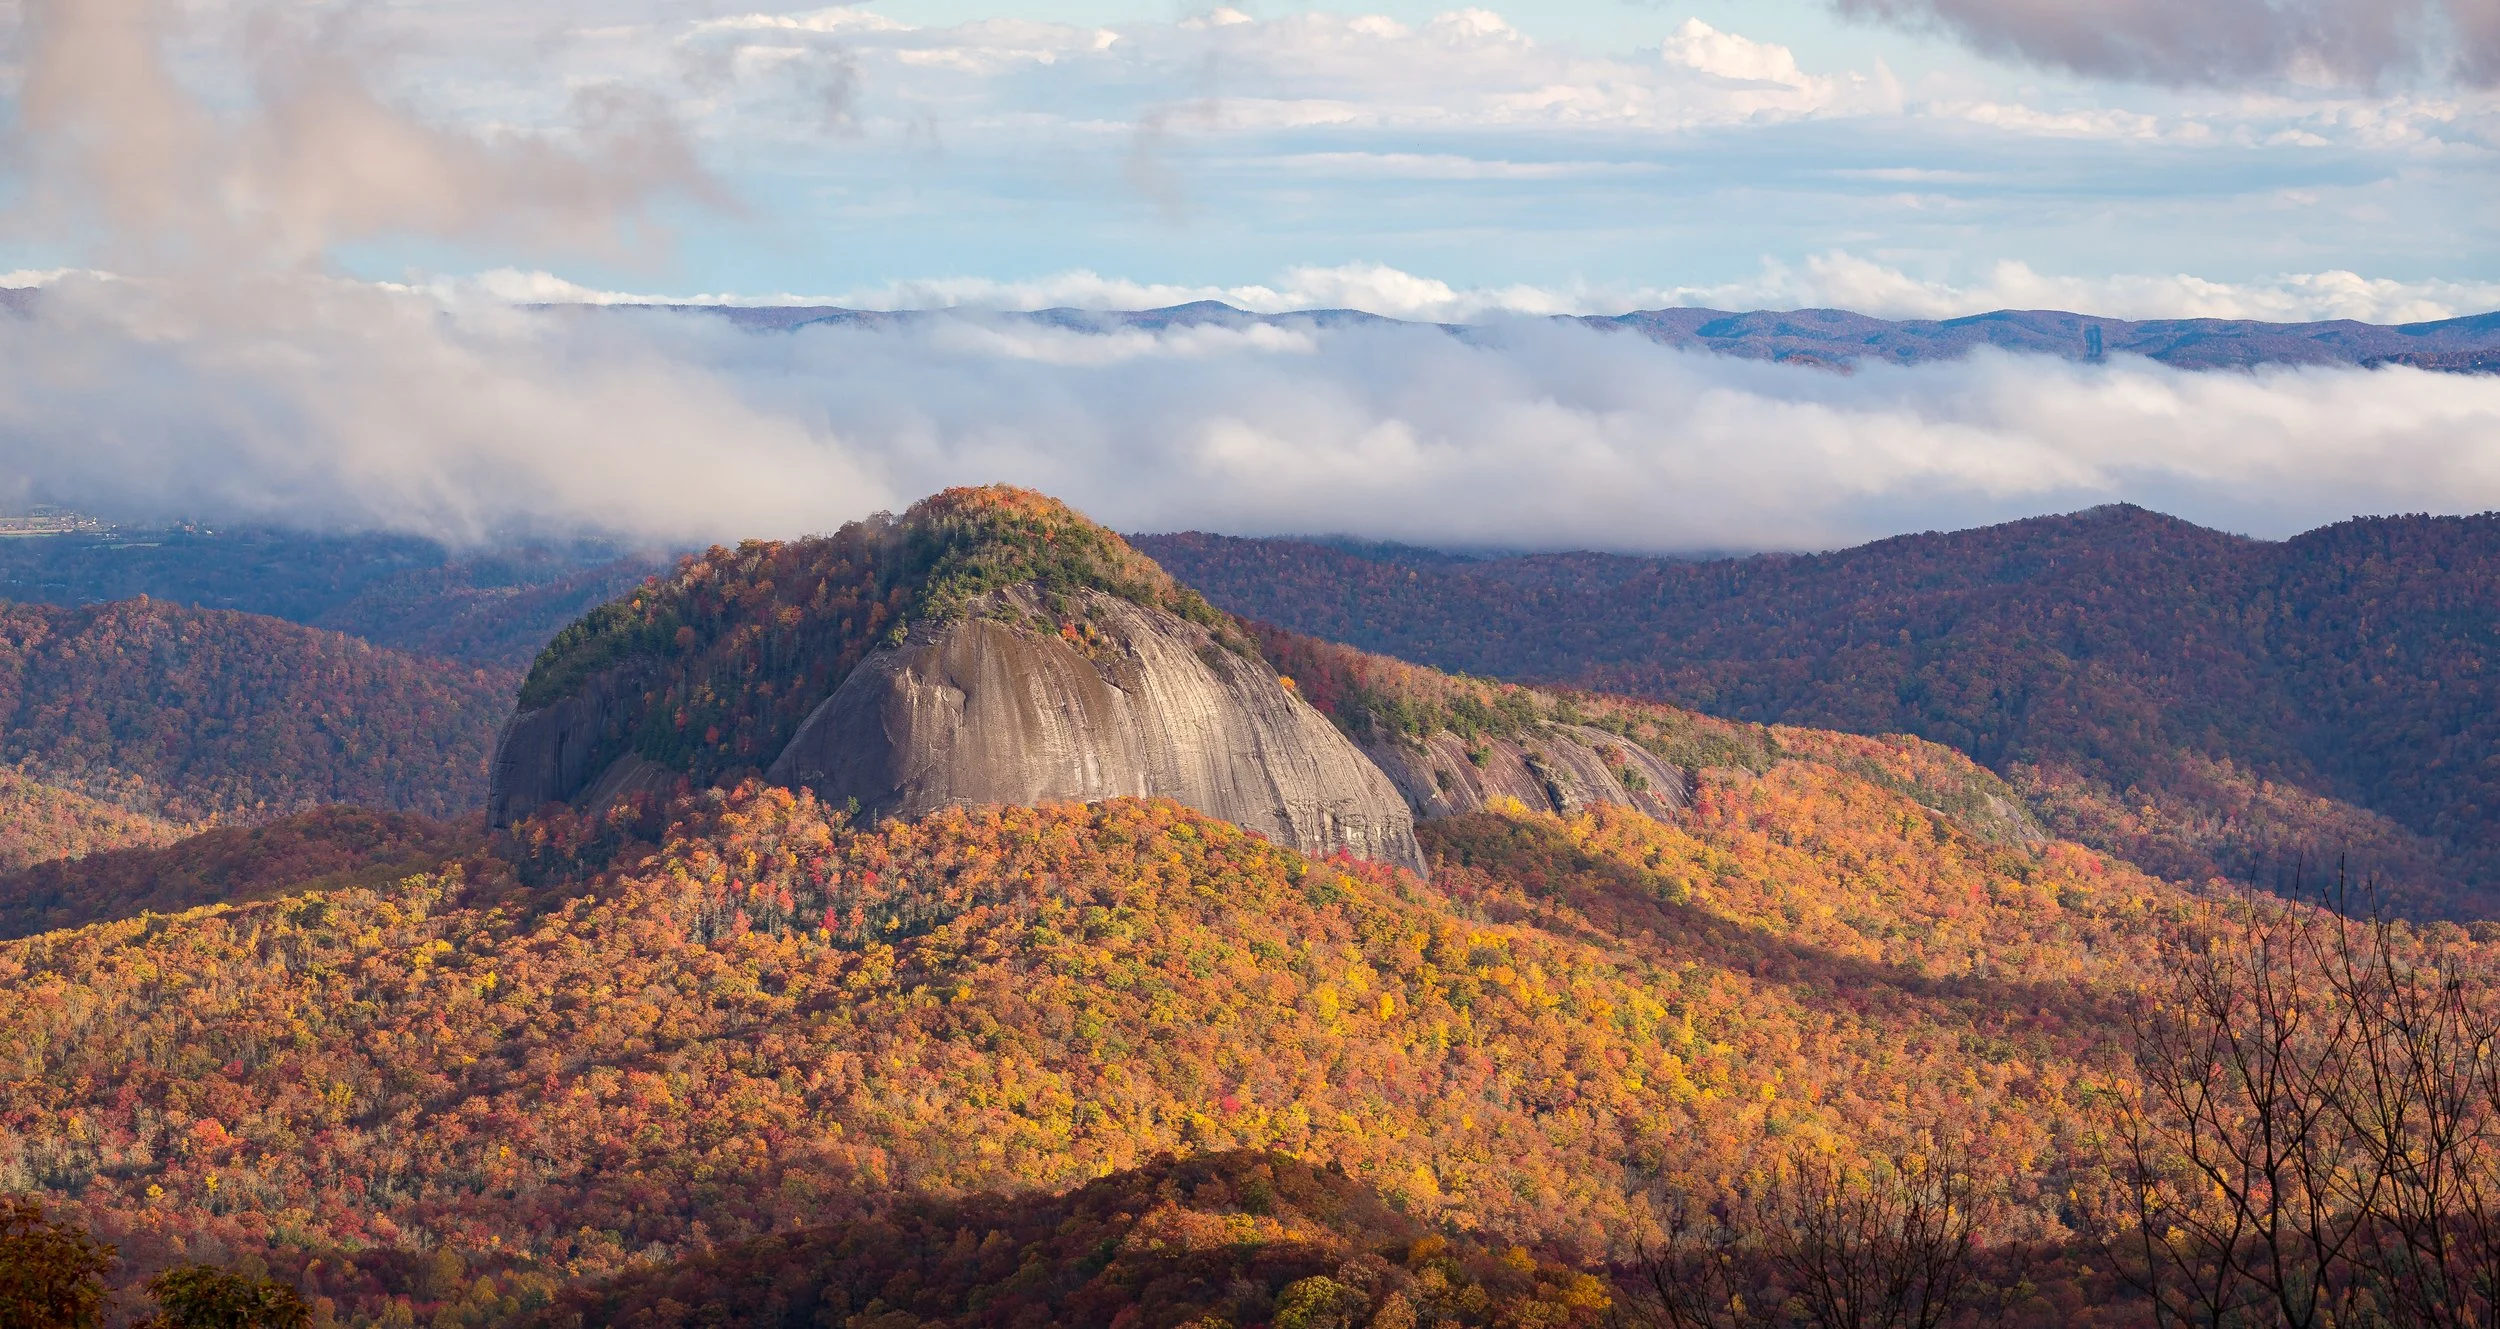
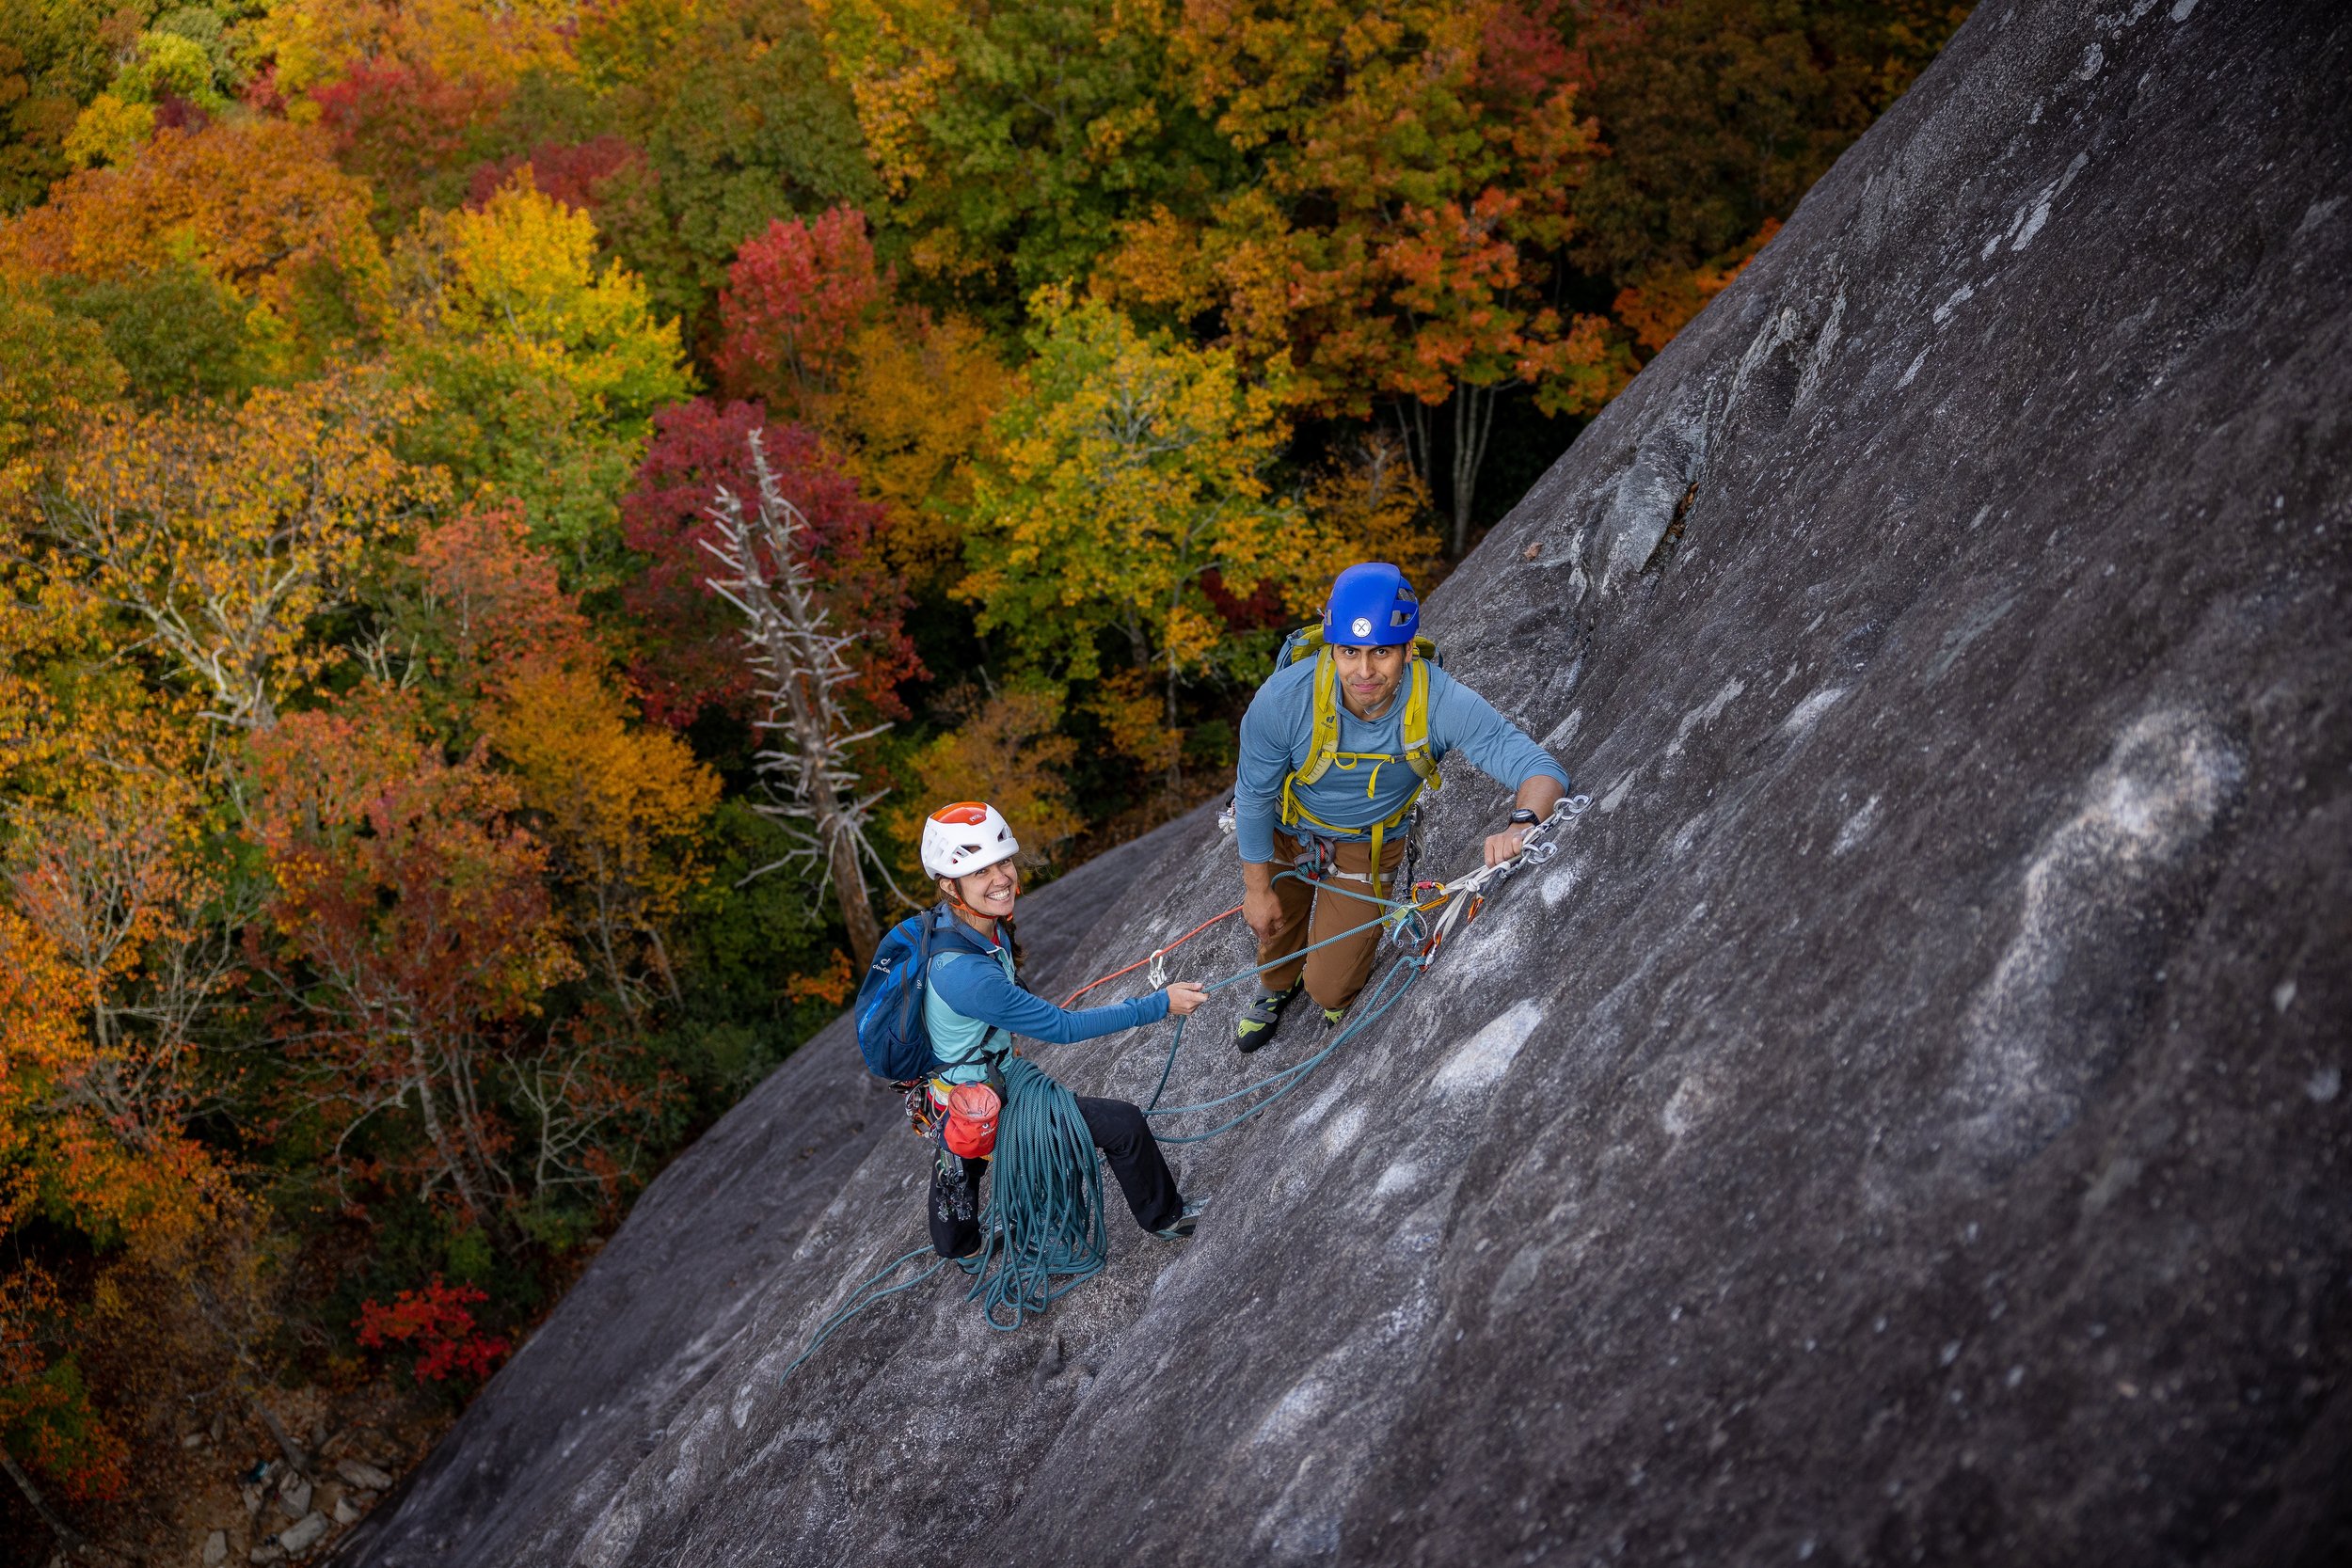
The Nose of Looking Glass Rock
Complete guide to climbing The Nose at Looking Glass Rock near Brevard, NC. Rack info, approach, descent, and guided trips with Pisgah Climbing School.
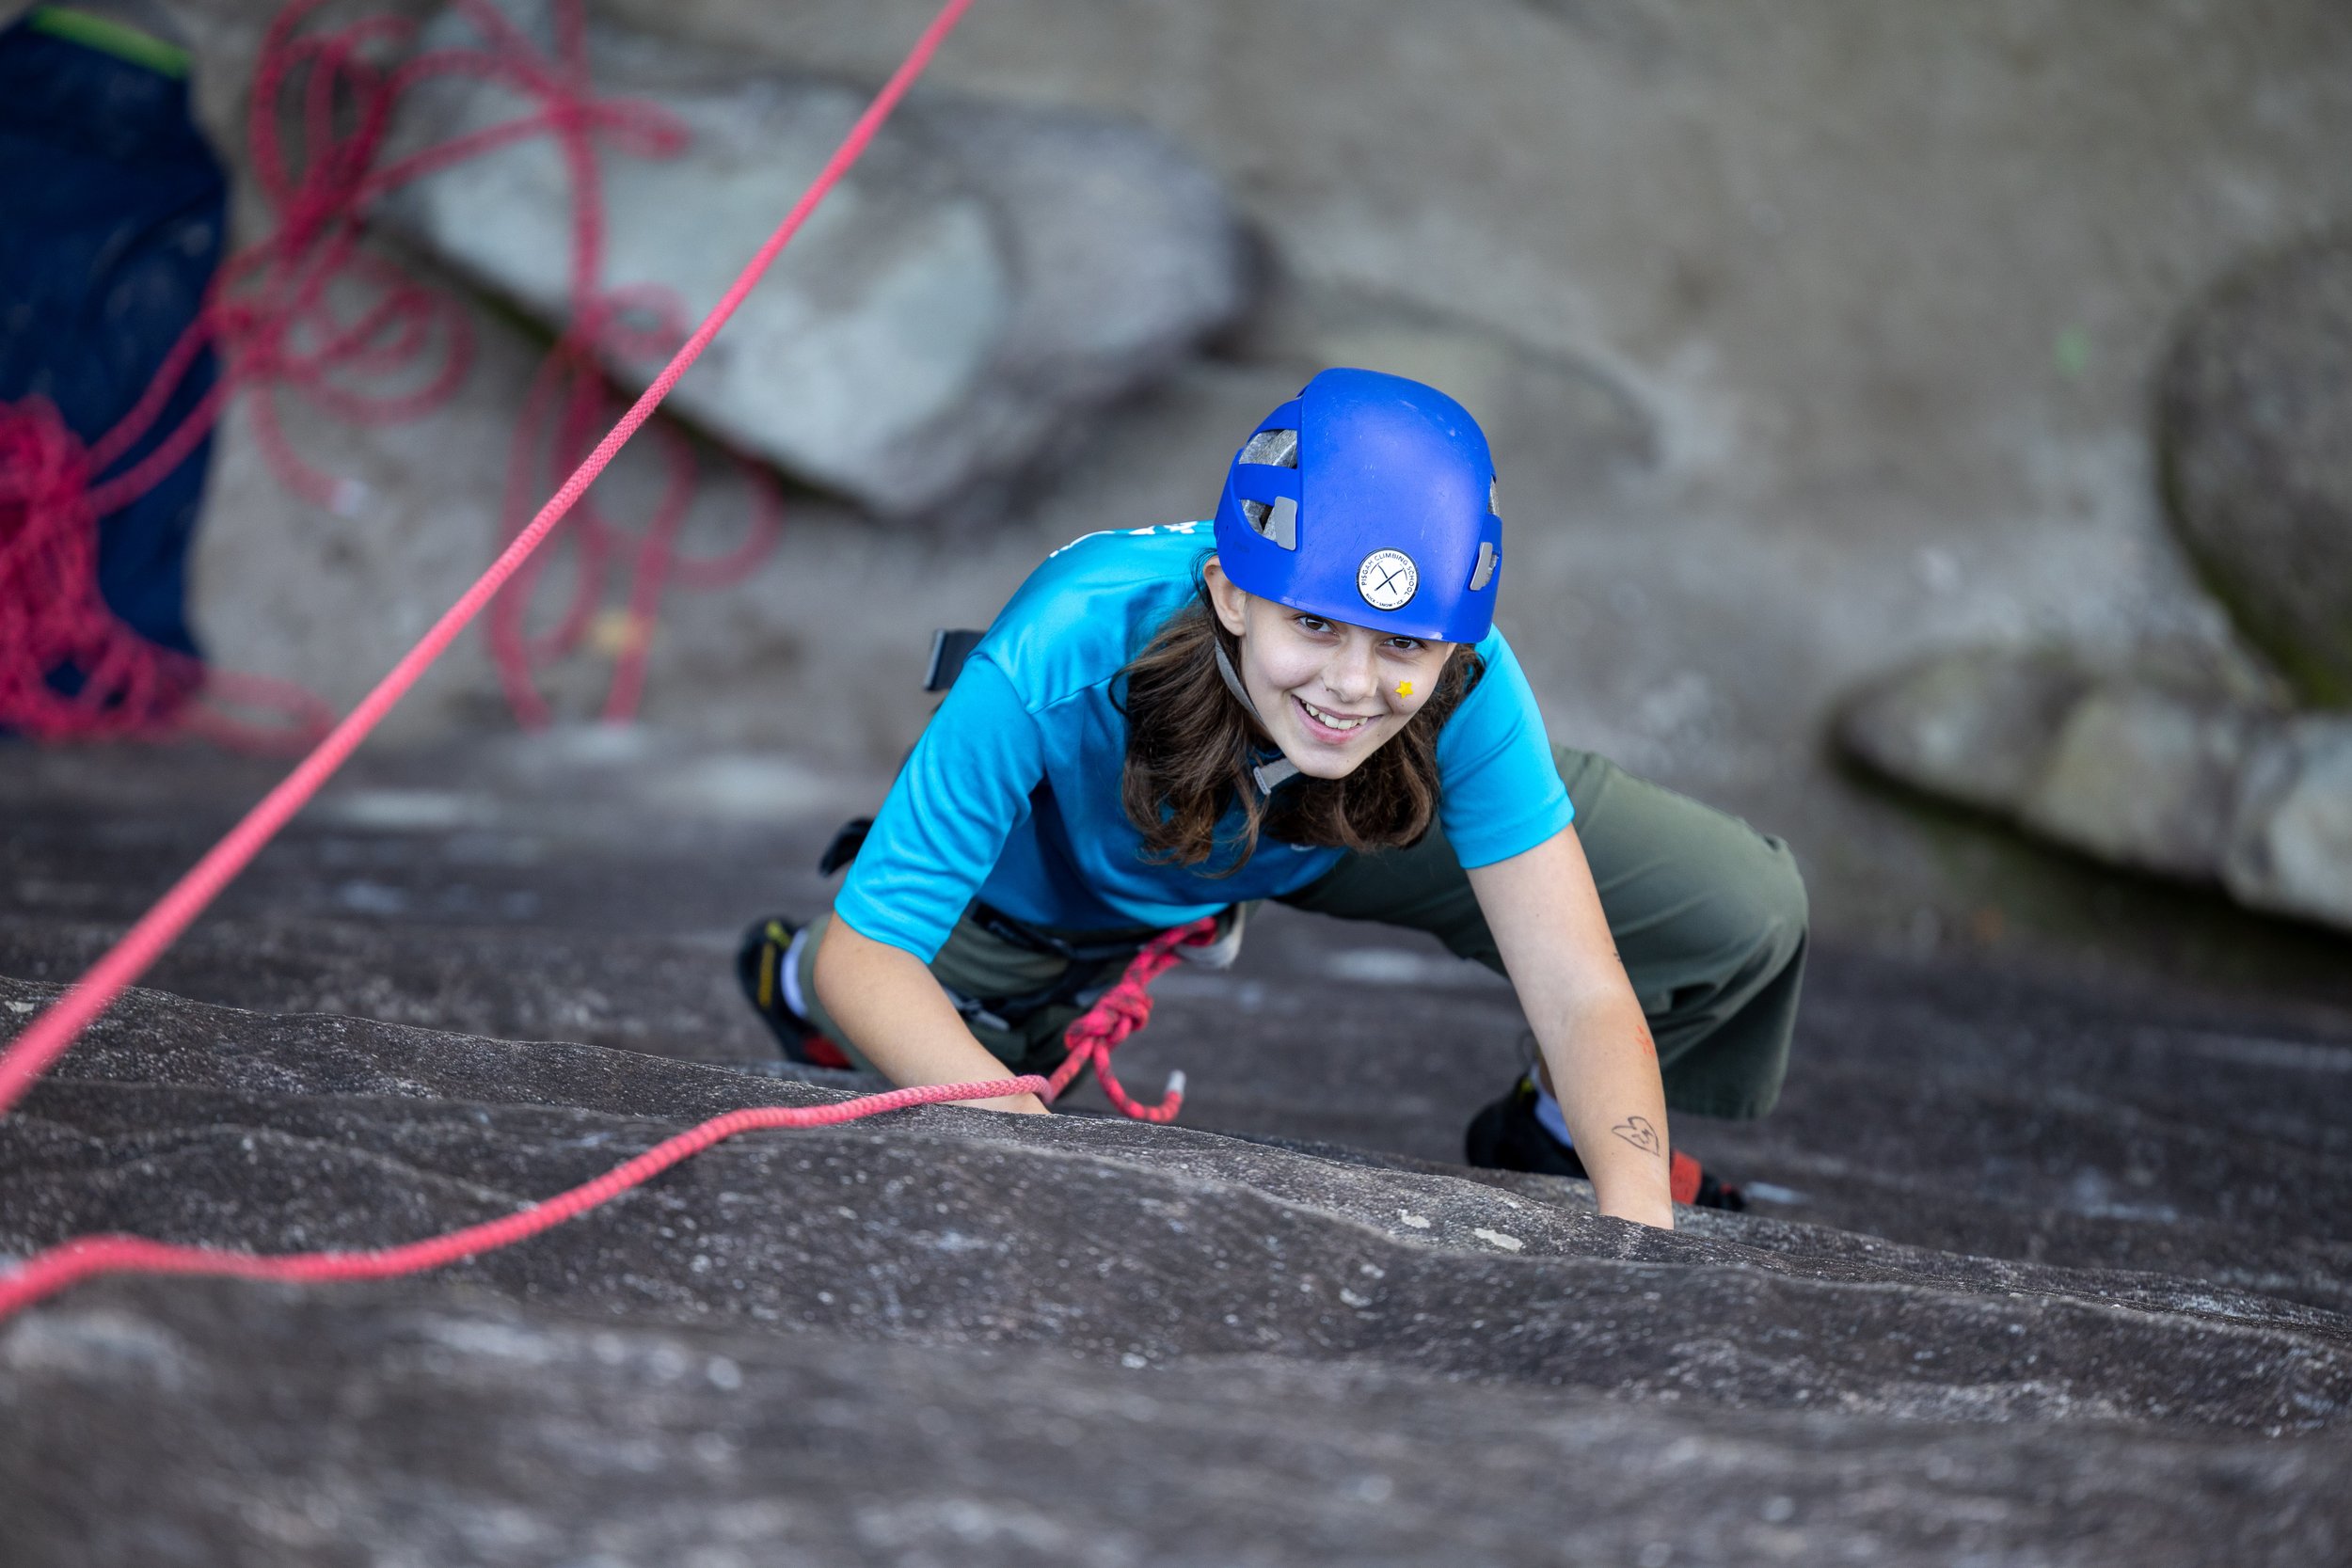
The Best Thing Your Family Will Do in Brevard This Summer (No Hiking Boots Required)
A guide and four kids smile on the granite face of Looking Glass Rock during a family guided rock climbing day with Pisgah Climbing School in Brevard, NC
Rock Climbing for Beginners in North Carolina: What to Expect on Your First Day Outside
Looking for an adventure? Want to learn to rock climb?
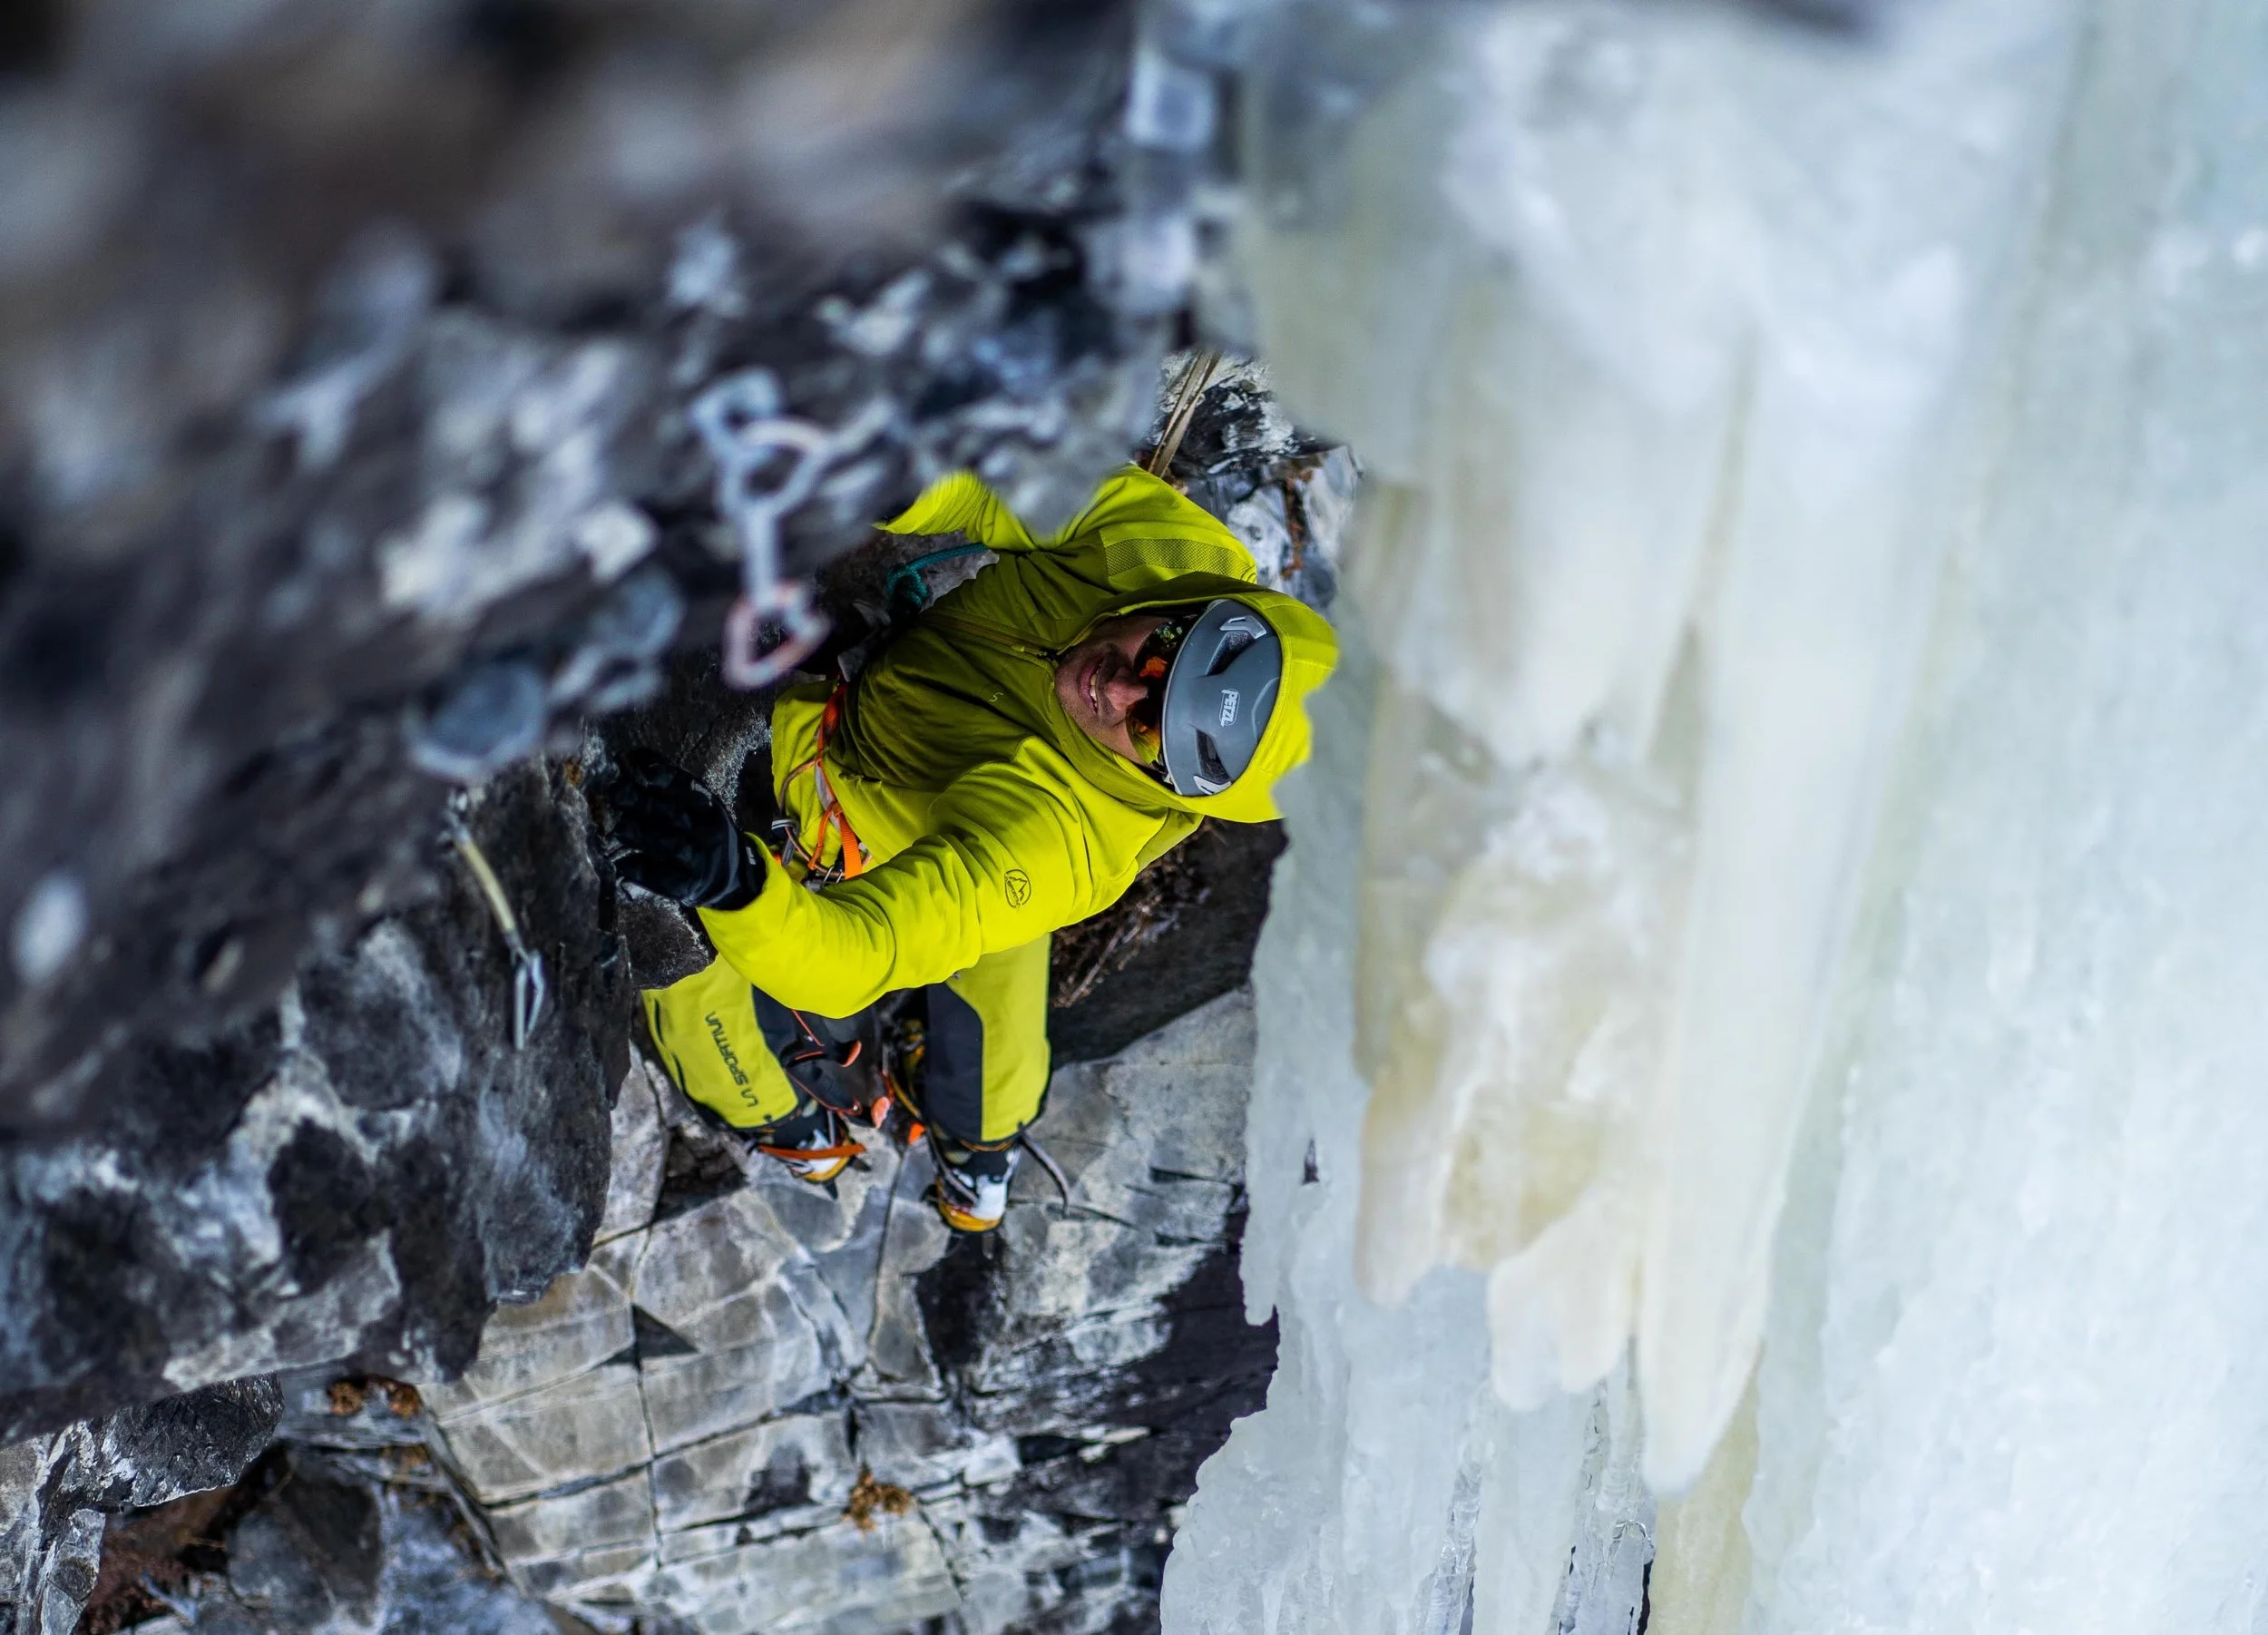
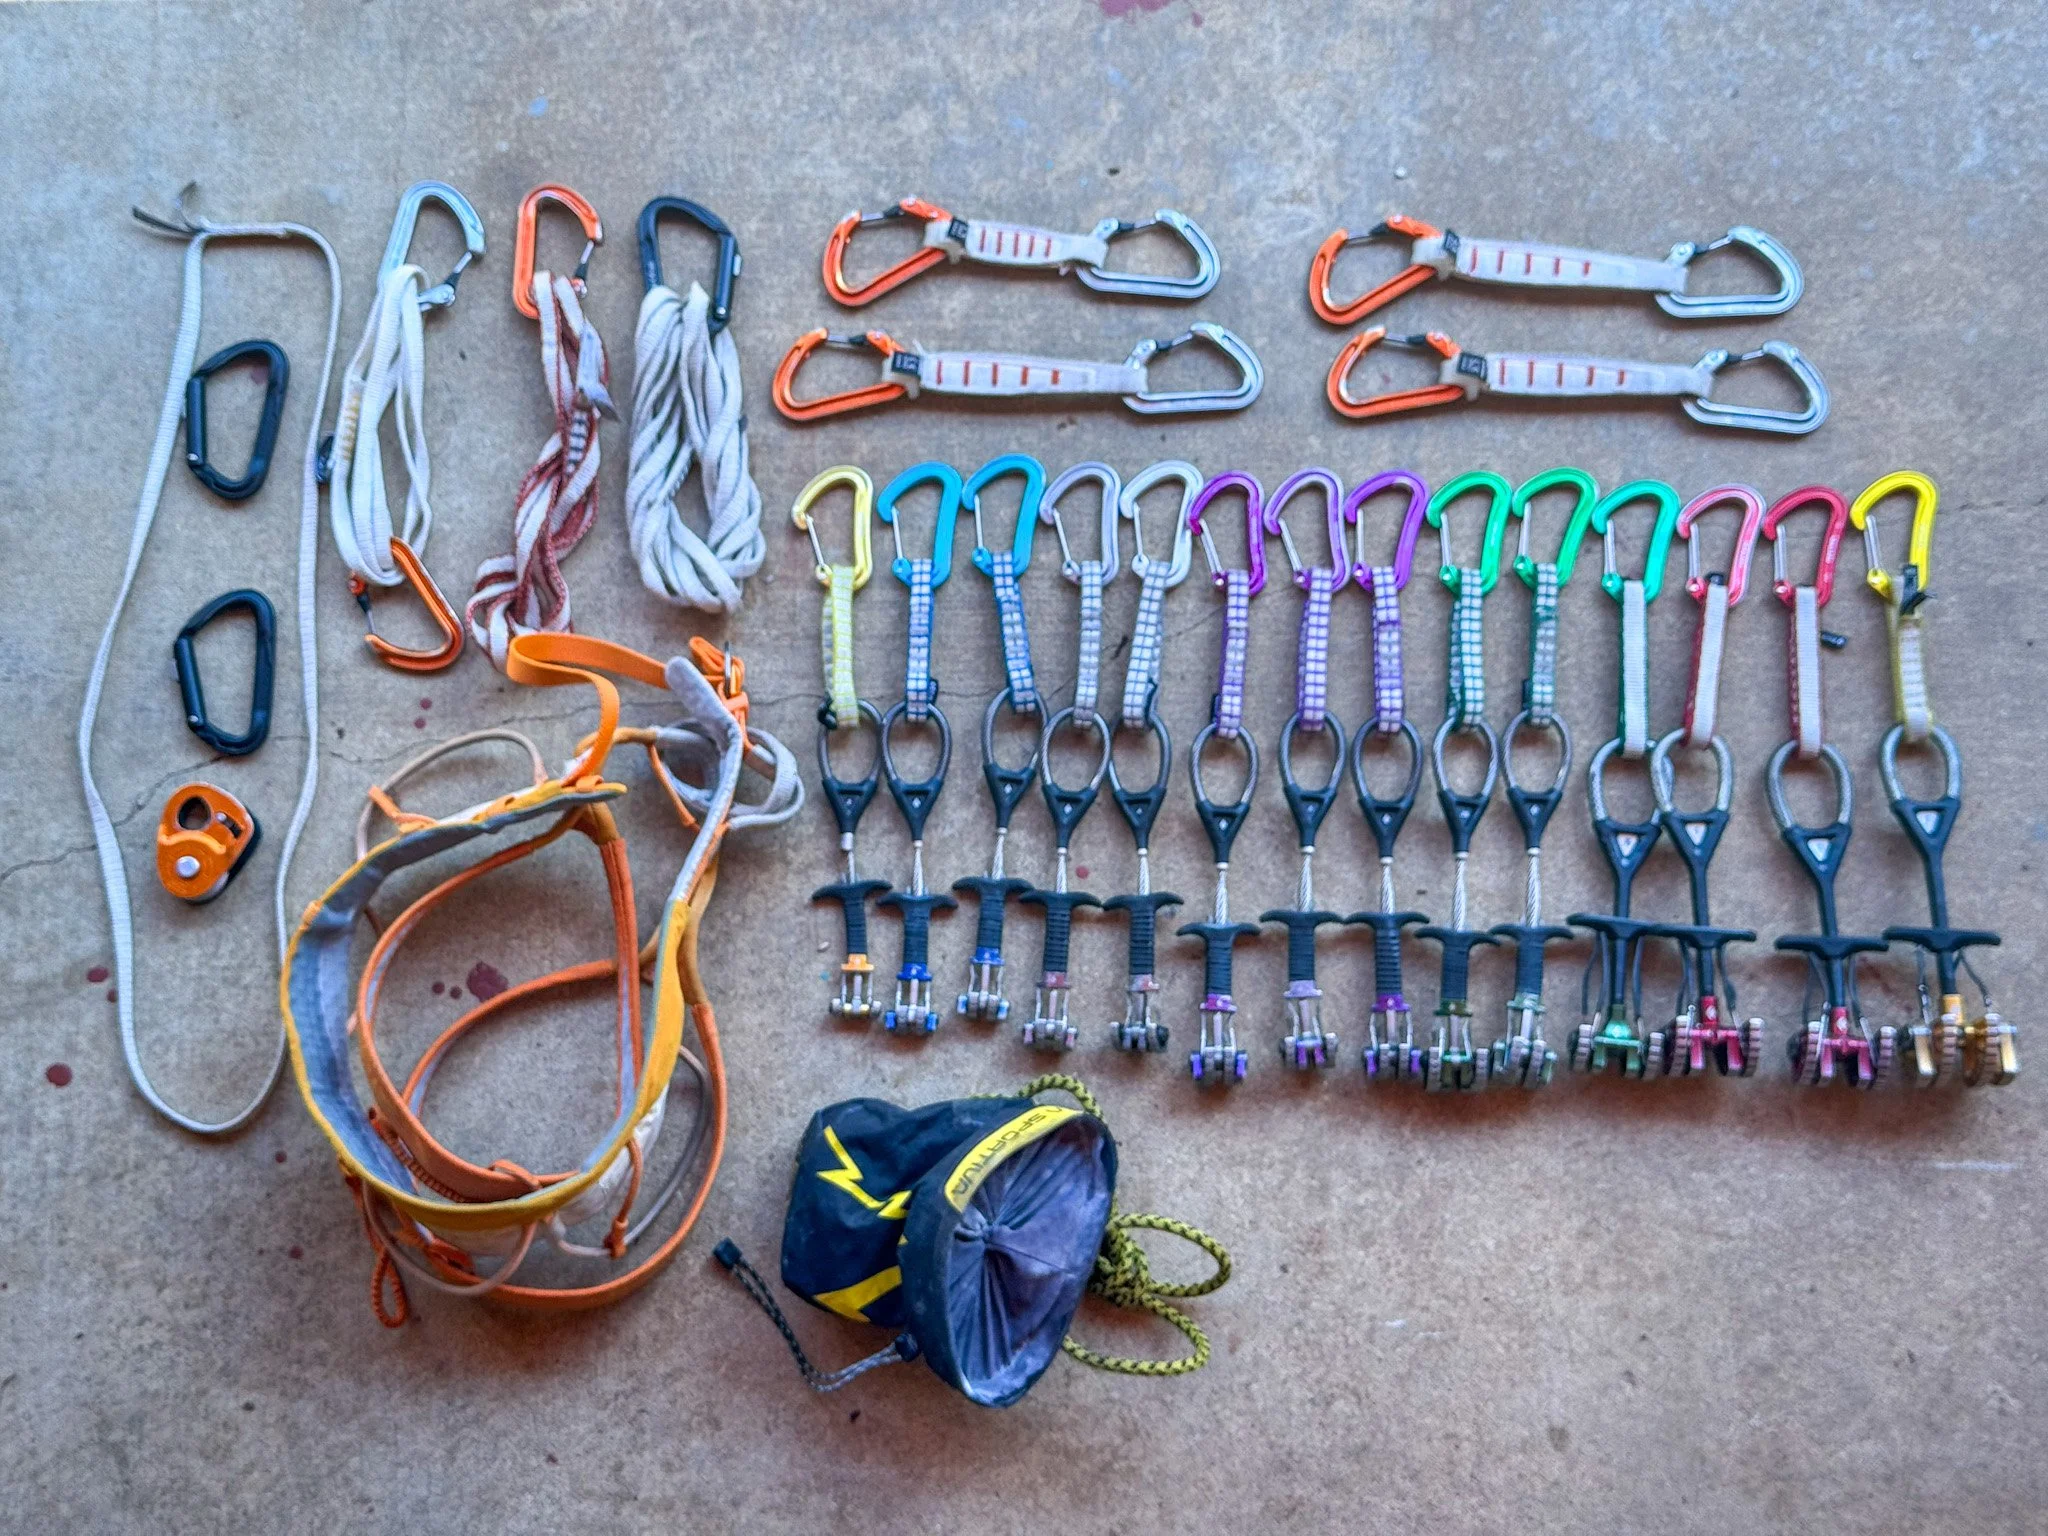
Essential Ice Climbing Gear: Complete Guide for Beginners and Experienced Climbers
Not sure what gear to buy for ice climbing? Here is a guide to what our expert instructors use and recommend.
